Long-living payment requests
Vipps MobilePay offers Long-living payment requests for creating invoices and payments that can be postponed up to 60 days.
The user experience, including the standard timeout, should be as consistent as possible, so this should only be used in special cases. To request this feature, please contact your key account manager, your partner manager, or customer service.
For details about this feature, please see Long-living payment requests in the ePayment API guide.
- Vipps
- MobilePay


Details
Step 1. Create a payment request
If you have the customer's phone number and their consent to send payment requests through Vipps MobilePay, you can send payment requests directly to them.
If you don't know your customer's phone number, you can start by sending them a link to your own landing page. There, you can trigger a payment request through Vipps MobilePay, which will request their phone number automatically.
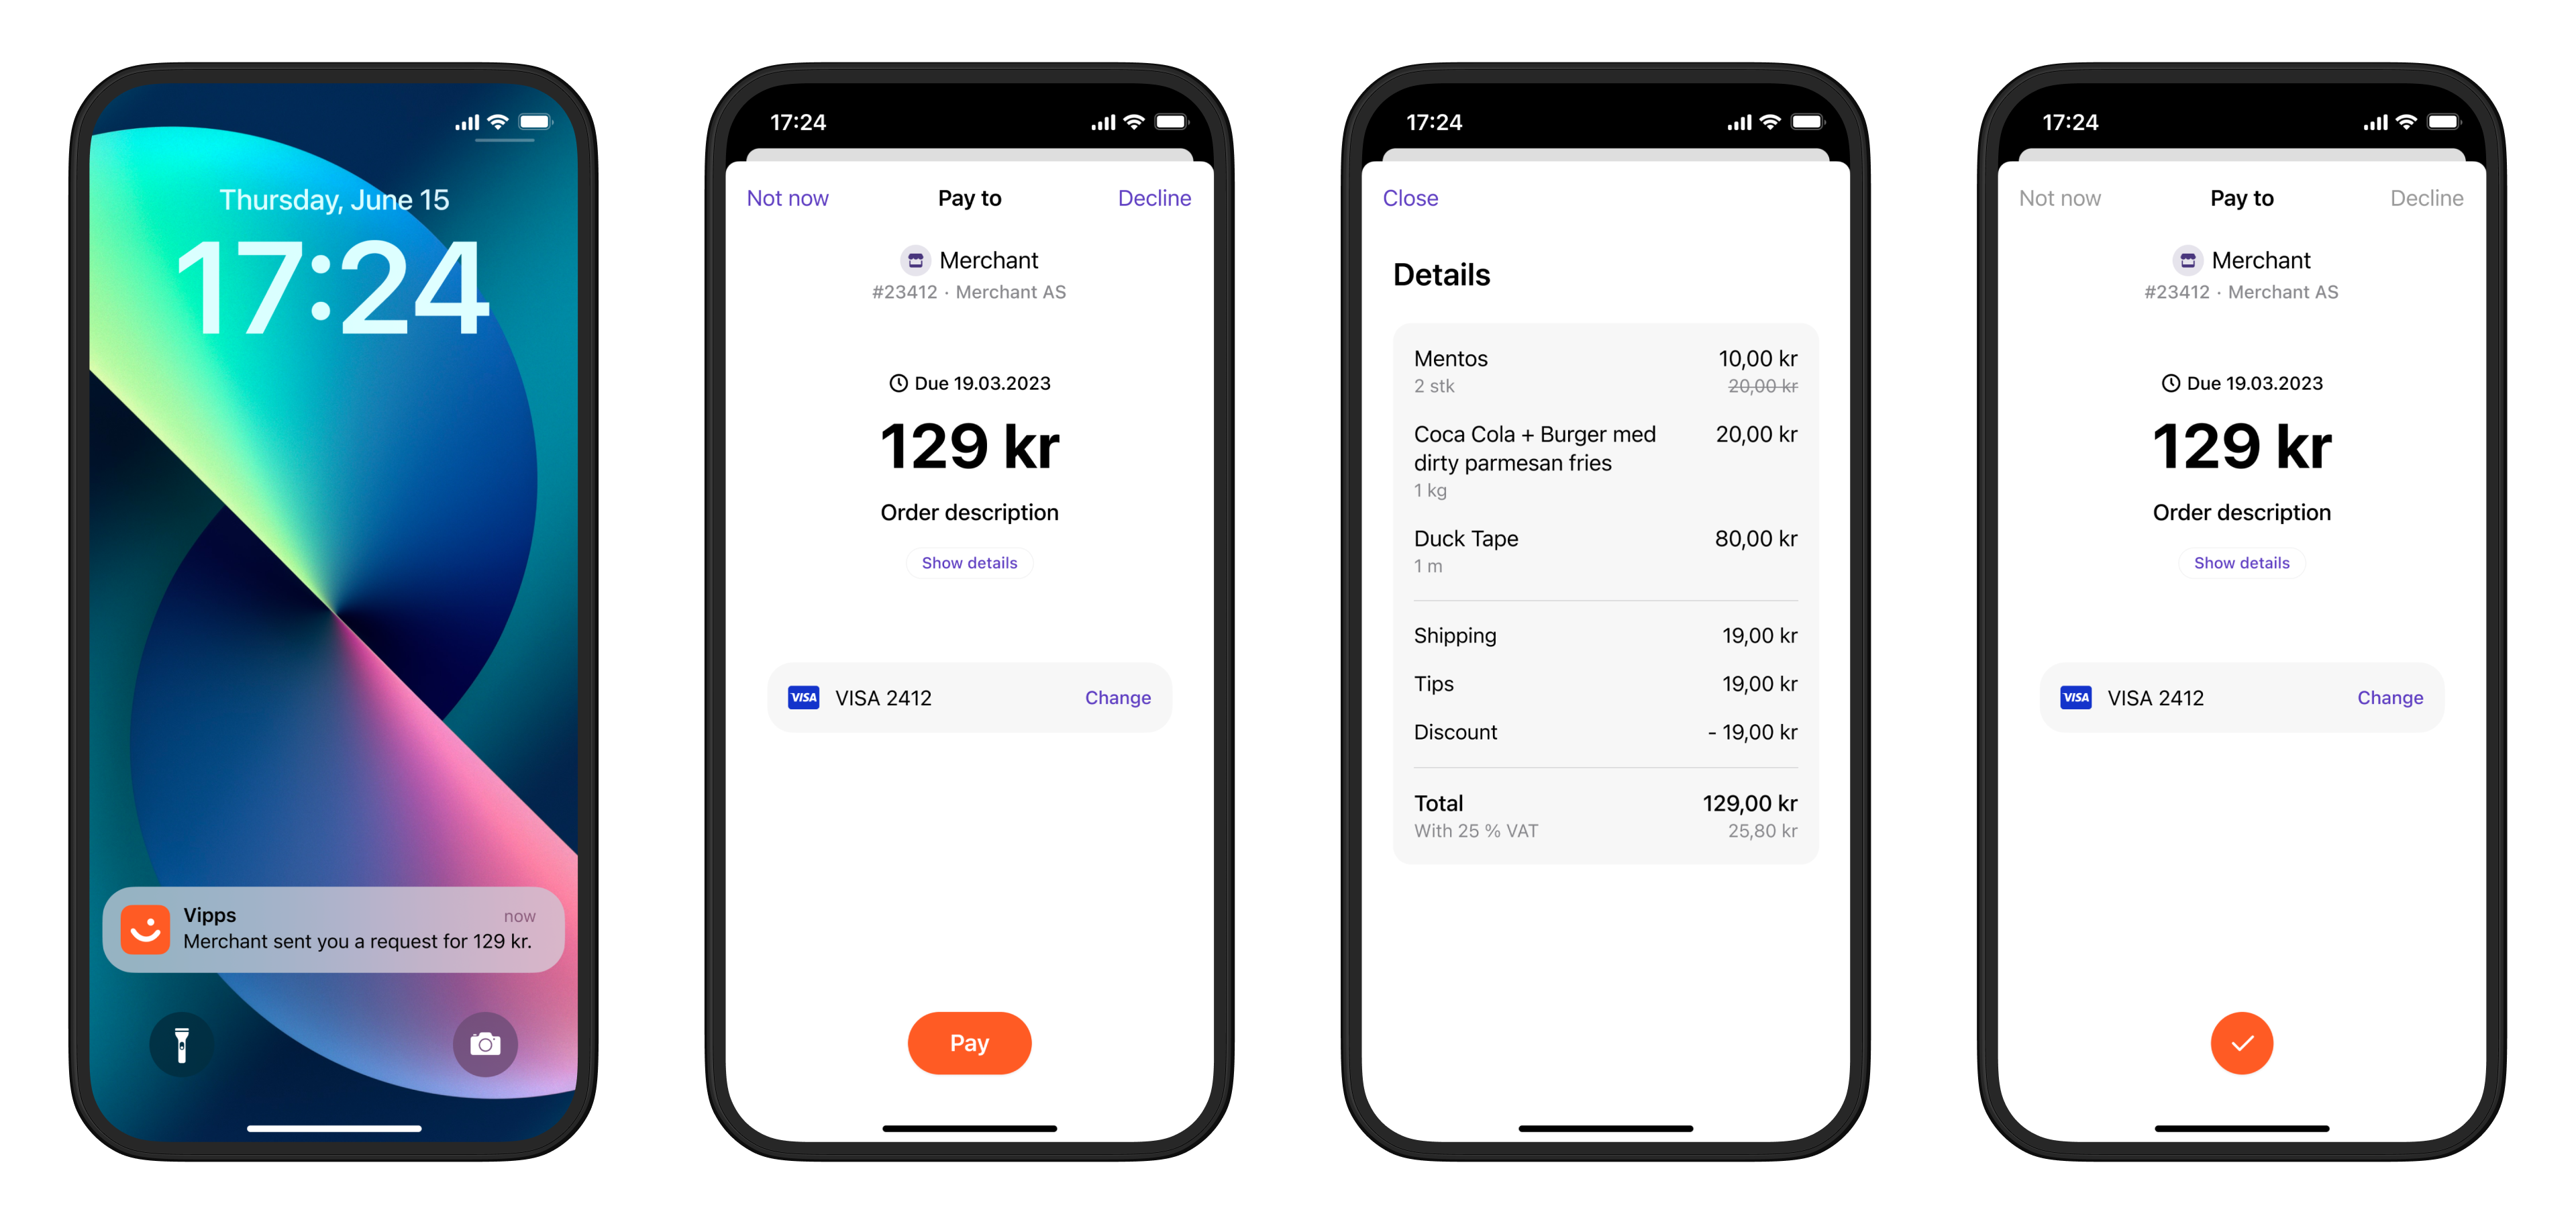
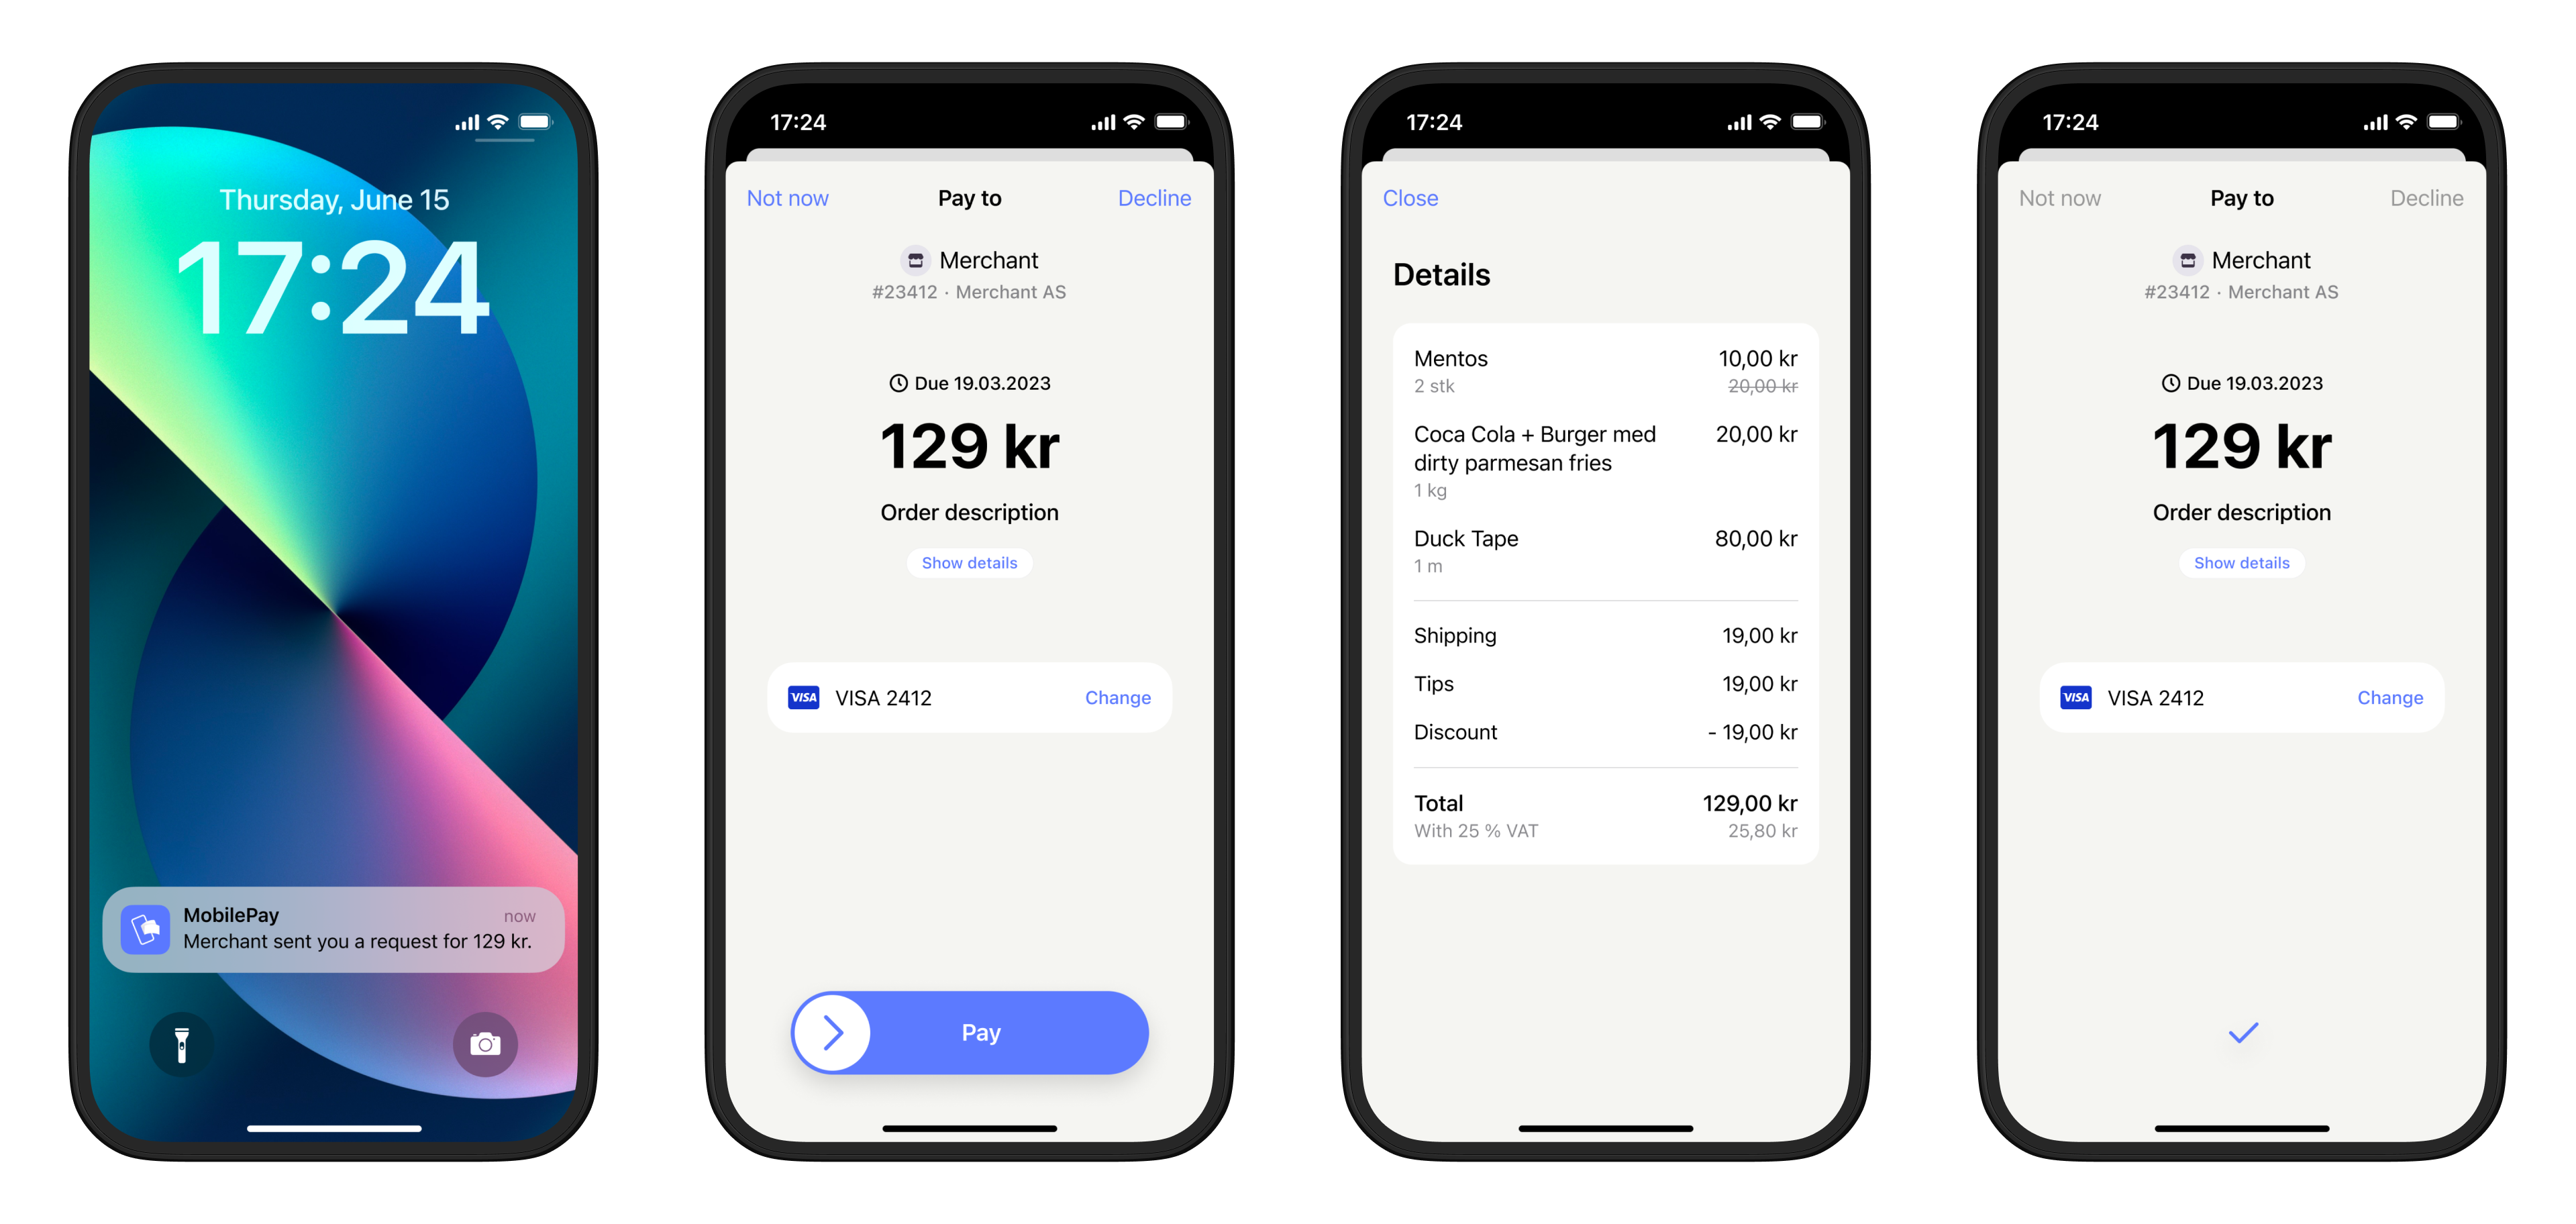
When you send the request, the customer will receive a push notification in their Vipps or MobilePay app.
Detailed example
Your system can send the payment request by using the
createPayment
endpoint.
Specify the WALLET payment method. This functionality is only available when using WALLET,
since the app is required.
Specify expiresAt with a value between 10 minutes and 60 days in the future.
Set userFlow to PUSH_MESSAGE to send a push directly to the customer.
Attach the receipt simultaneously.
You can also add the receipt at this time.
Here is an example HTTP POST:
With body:
{
  "amount": {
    "value": 300000,
    "currency": "NOK"
  },
  "paymentMethod": {
    "type": "WALLET"
  },
  "customer": {
    "phoneNumber": 4712345678
  },
  "receipt":{
    "orderLines": [
      {
        "name": "Accident insurance",
        "id": "12345",
        "totalAmount": 150000,
        "totalAmountExcludingTax": 112500,
        "totalTaxAmount": 37500,
        "taxRate": 2550,
      },
      {
        "name": "Travel insurance",
        "id": "12345",
        "totalAmount": 150000,
        "totalAmountExcludingTax": 112500,
        "totalTaxAmount": 37500,
        "taxRate": 2550,
      },
    ],
    "bottomLine": {
      "currency": "NOK",
      "receiptNumber": "0527013501"
    },
  },
  "reference": 1648738112,
  "userFlow": "PUSH_MESSAGE",
  "expiresAt":"2024-08-04T00:00:00Z",
  "returnUrl": "http://www.merchant.com/redirect?reference=2486791679658155992",
  "paymentDescription": "Spendings"
}
See ePayment API: Long-living payment requests for more details.
Step 2. Customer approves the payment
The payment request will appear in the customer's Vipps or MobilePay app, where they can select to pay or cancel.
To determine that the user has authorized the payment, you can get notifications via the Webhooks API and/or poll for the status.
Once the payment is approved, update the status in your system.
Since you have already attached order information to this payment, the customer will be able to see this in their Vipps or MobilePay app.
When they select Show details in the payment confirmation screen, they are presented with the order information without leaving the app.
Note that, for long-living payment requests, customers also have the option of soft-dismissing the payment and postponing it for later.
Step 3. Capture the payment
Capture the payment and confirm that it was successful.
Detailed example
POST:/epayment/v1/payments/{reference}/capture
With body:
{
  "modificationAmount": {
    "value": 300000,
    "currency": "NOK"
  }
}
Sequence diagram
Sequence diagram for the standard online payment flow, where payment request is sent directly to app.
Next steps
Now, you can go to the API guide and start experimenting.
👉 Go to the ePayment API guide