QR to site (payment only)
This variant is similar to the flow documented in In-person payments → Static QR → Merchant Redirect QR. The main guide covers the recommended approach where customers select products on your website.
Customer scans a static QR code posted on the vending machine, is redirected to your payment page, makes selection on the vending machine, and completes payment on your website.
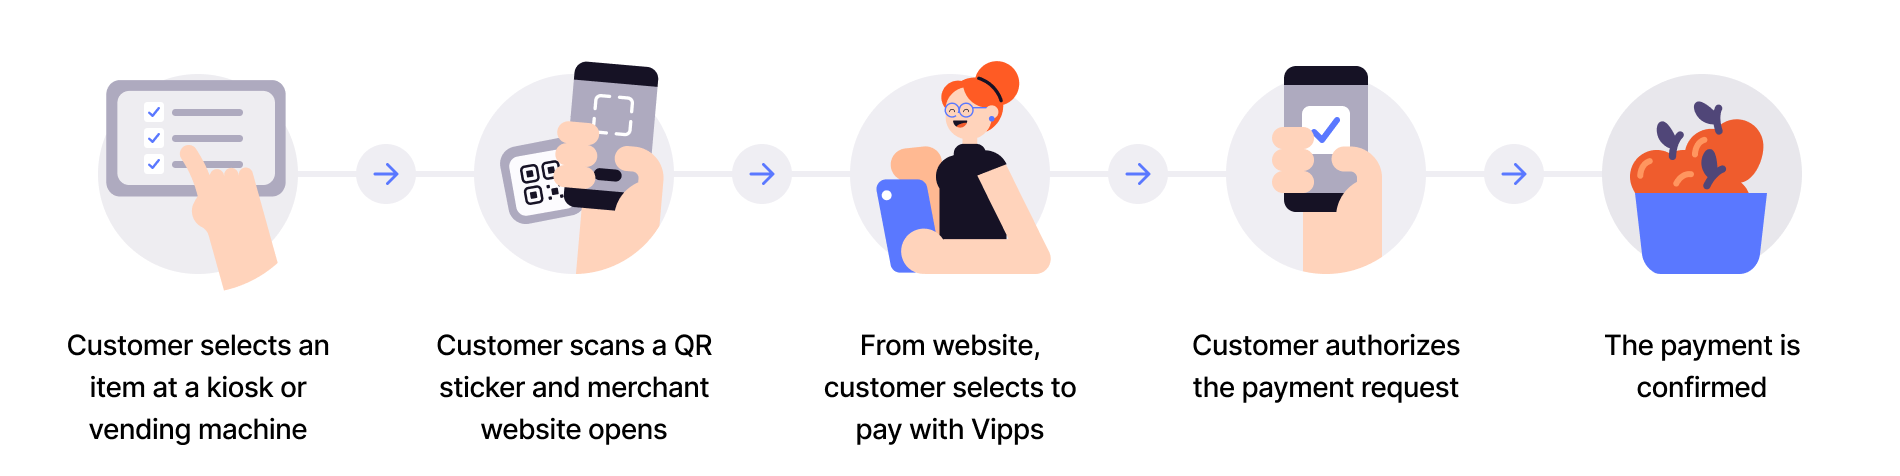
Flow diagram: 5-step QR-to-merchant-site payment-only process. (1) Customer selects an item at a kiosk or vending machine. (2) Customer scans a QR sticker and merchant website opens. (3) From the website, customer selects to pay with Vipps. (4) Customer authorizes the payment request. (5) The payment is confirmed.
- Customer scans QR - Customer scans the merchant redirect QR code posted on the vending machine.
- Redirect to payment page - Customer lands on your payment page linked to that specific vending machine.
- Customer selects product - Customer makes their selection on the physical vending machine.
- Initiate payment - Create payment request with the selected amount using
userFlow: "WEB_REDIRECT". - Customer authorizes - Customer approves payment in their app.
- Capture payment - Confirm the transaction is complete.
This flow works when you don't have a customer-facing screen and want customers to make physical selections on the vending machine but complete payment through your website.
Per regulations, specify "customerInteraction": "CUSTOMER_PRESENT".
View sequence diagram
Static QR directing to the merchant site
- QR API scans for the customer ID.
- Merchant adds the product to the sale.
- Merchant initiates a payment request with order details via the ePayment API.
- ePayment API requests payment from the customer.
- Customer clicks pay.
- Webhooks API sends the merchant a webhook with the payment authorization status.
- Merchant captures the payment via the ePayment API.
- ePayment API returns the status of the capture.
- Merchant verifies that the POS status matches the capture.
Technical details
- How the QR API works with merchant redirect - Visual walkthrough of the flow
- Merchant redirect QR code - Create static QR that redirects to your website